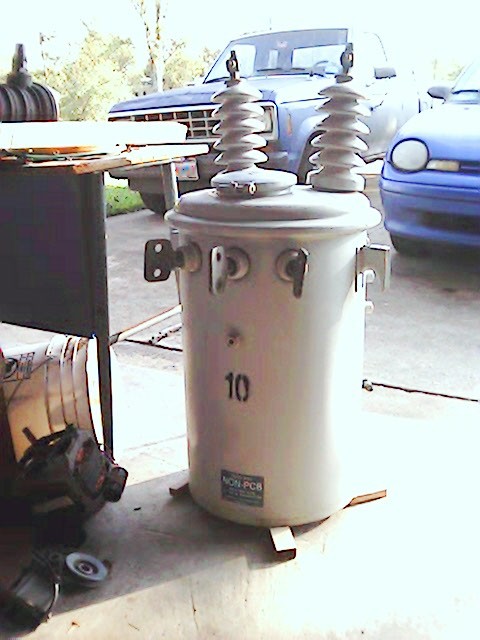
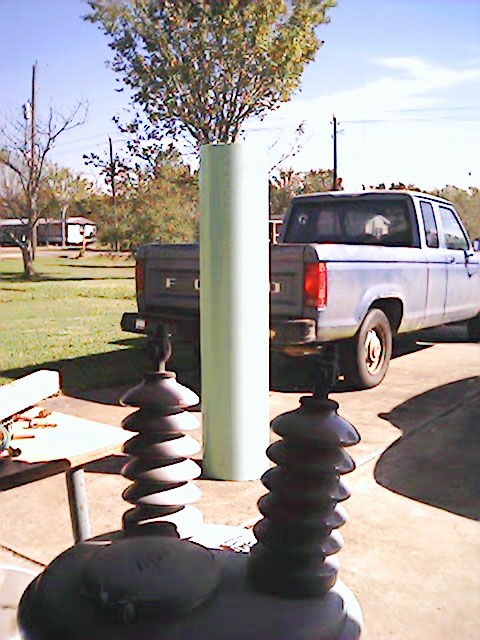
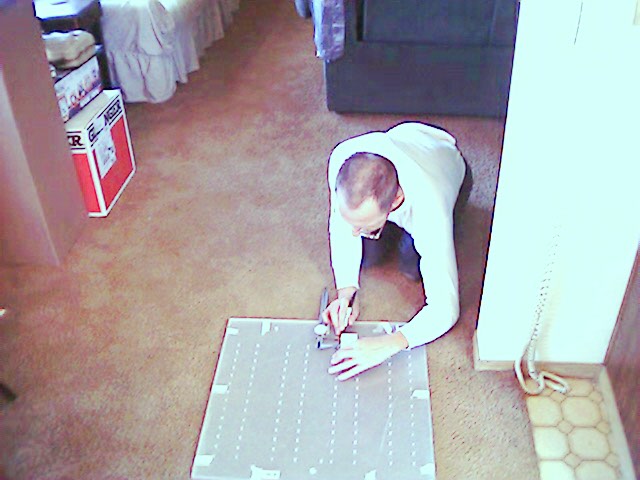
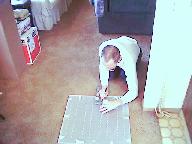
The parts begin to arrive!

And the construction proceeds....

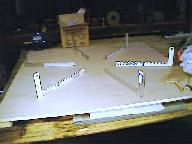
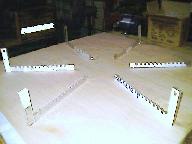
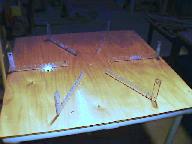
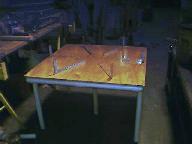

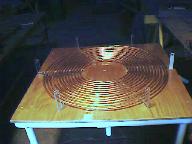
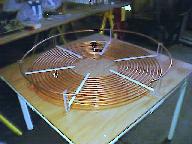
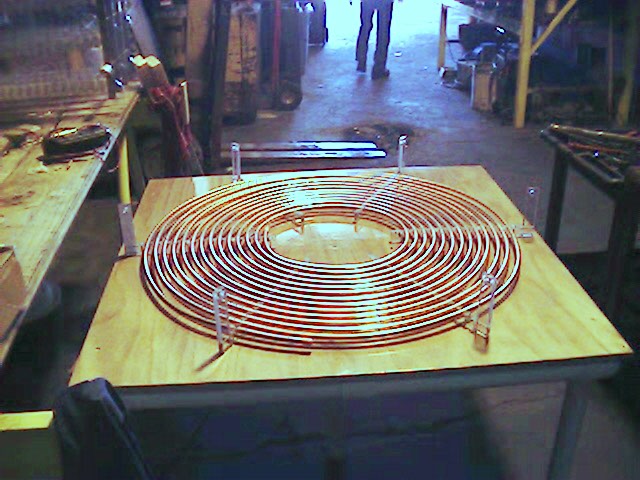
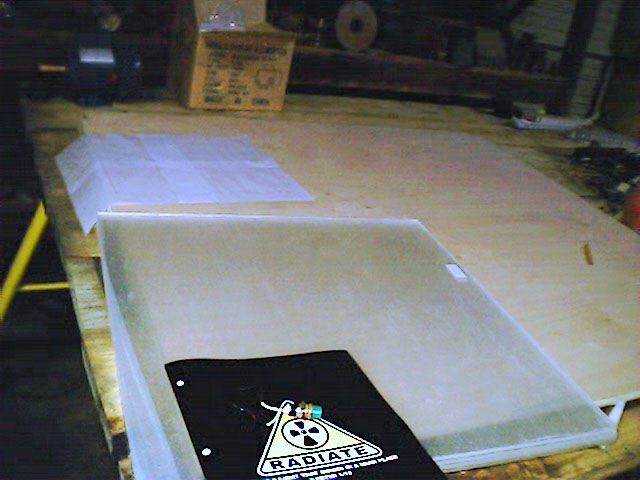
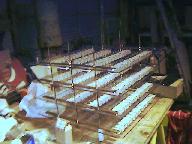
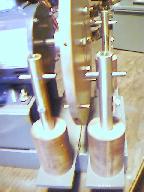
This first shot shows the supports for the primary coil. They have been machined from 1/2" thick Lexan using a ballnose mill. The furniture grade plywood was been prepared with several coats of polyurethane prior to winding the primary.
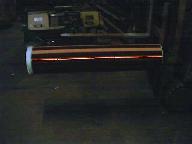
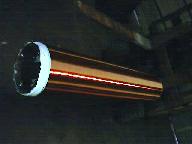
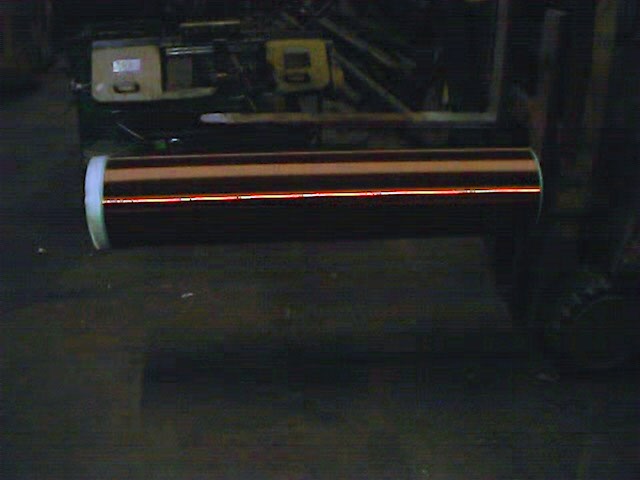
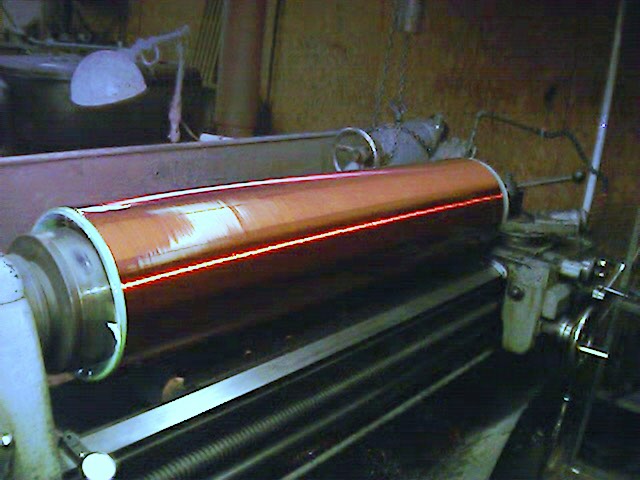
A couple of shots of the secondary. The forklift was used only to hold the coil for the photo, it's not that heavy.
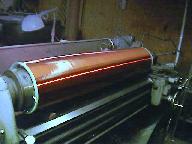
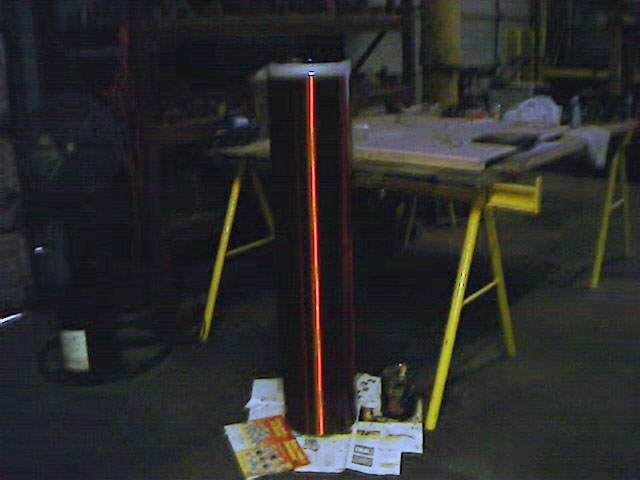
The long process of coating it is worthwhile. As the final coats are applied to the secondary, it just keeps getting prettier.
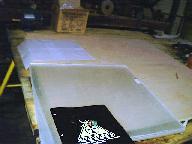
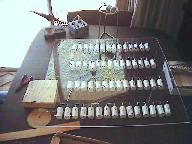
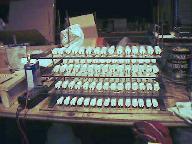
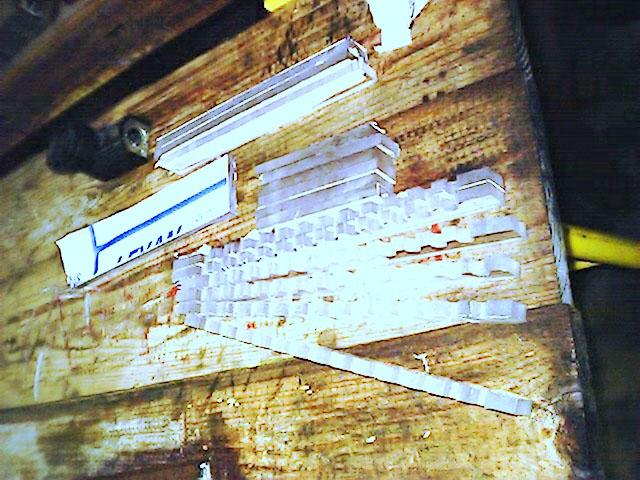
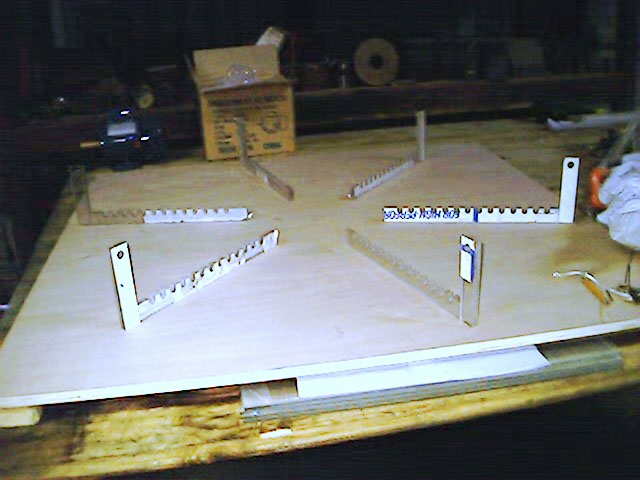
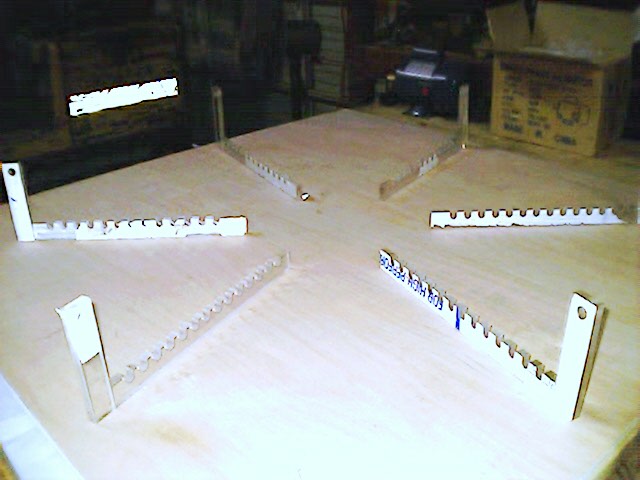
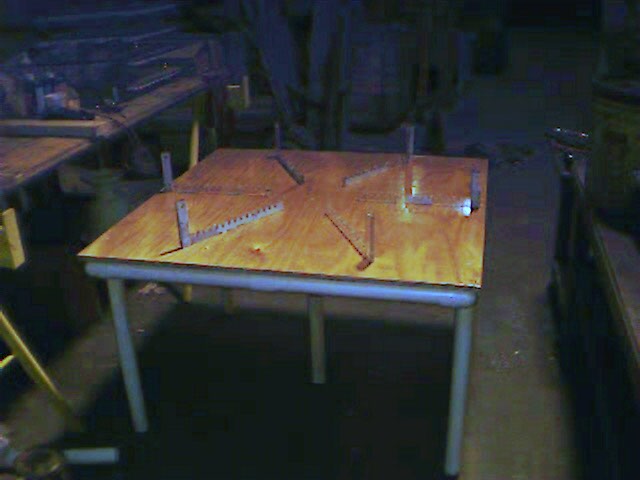
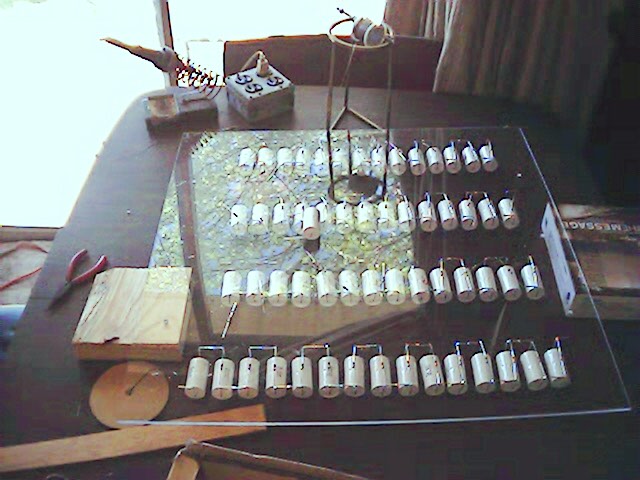
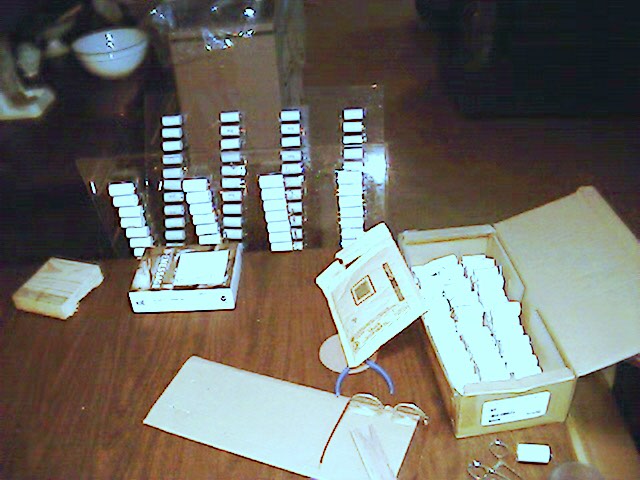
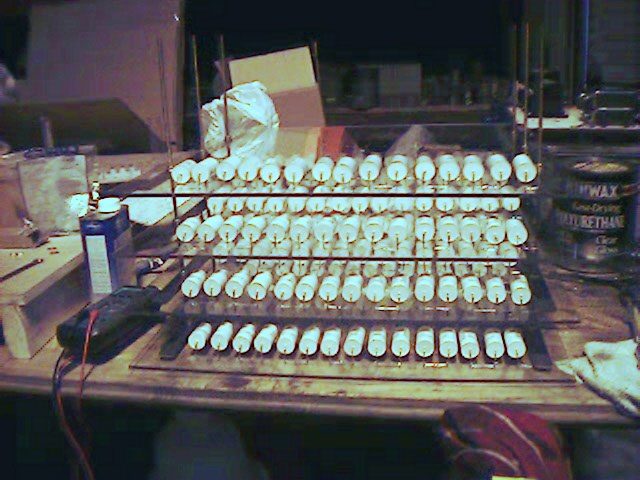
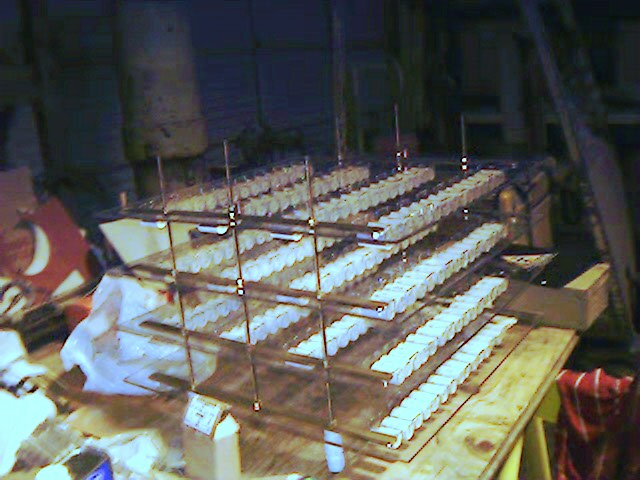
The MMC array begins to take shape. Each of the 4 panels for the MMC array starts as a 24" x 24" piece .220" Plexiglas (the Plexi was changed to .236" Lexan after the Plexi got brittle). Drilling almost 400 holes takes time. Then the 195 capacitors get attached in the form of 13 strings comprised of 15 capacitors. Soldering all those capacitors with their bleeder resistors is a good way to work off a turkey dinner. After the brass buss bar and all-thread are cut to size the individual panels become one array.
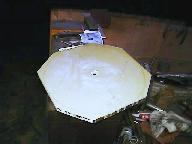


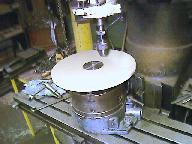
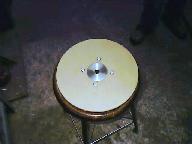
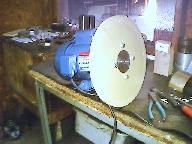
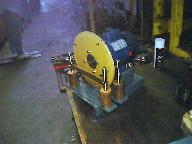
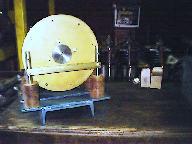
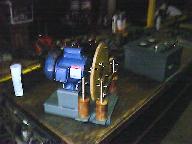
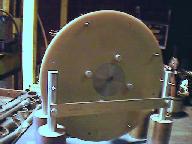
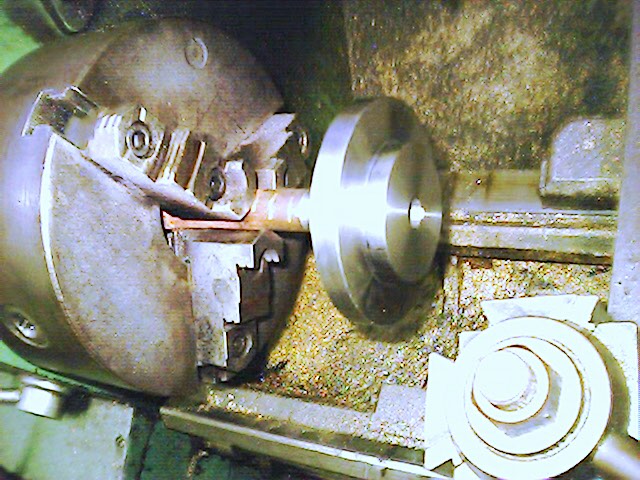
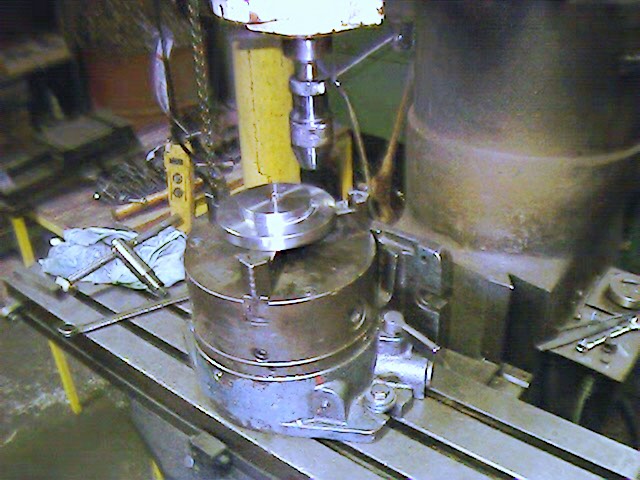
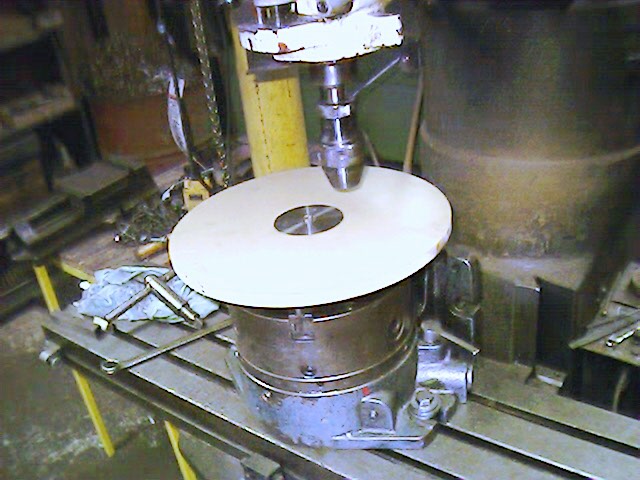
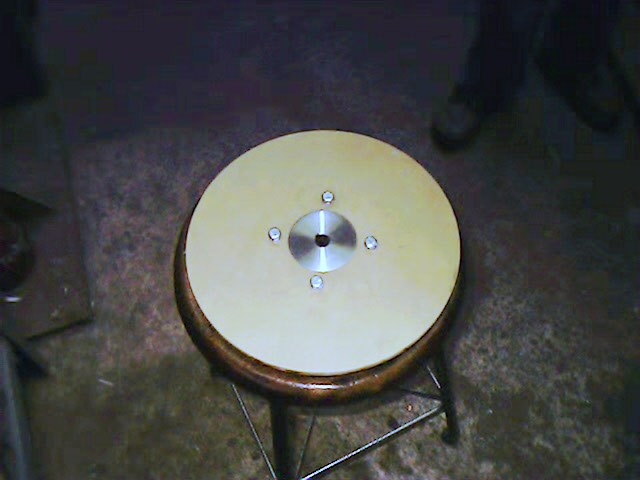
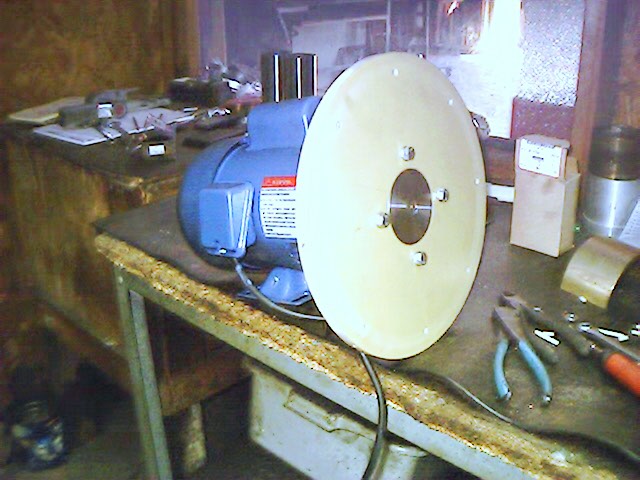
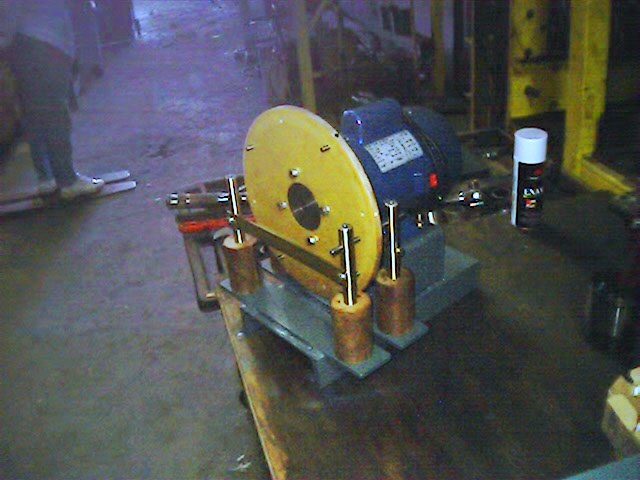
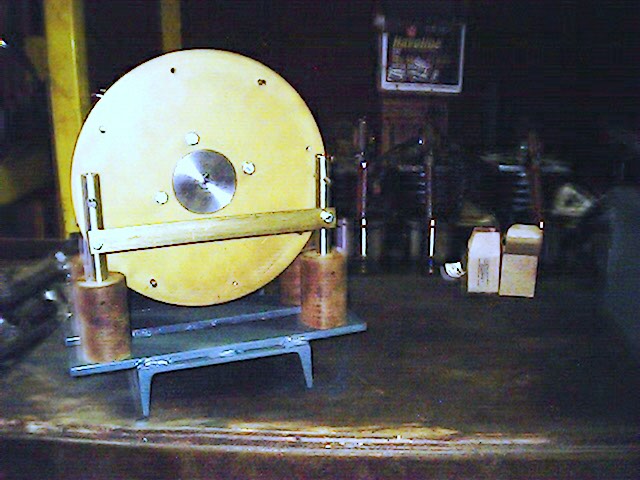
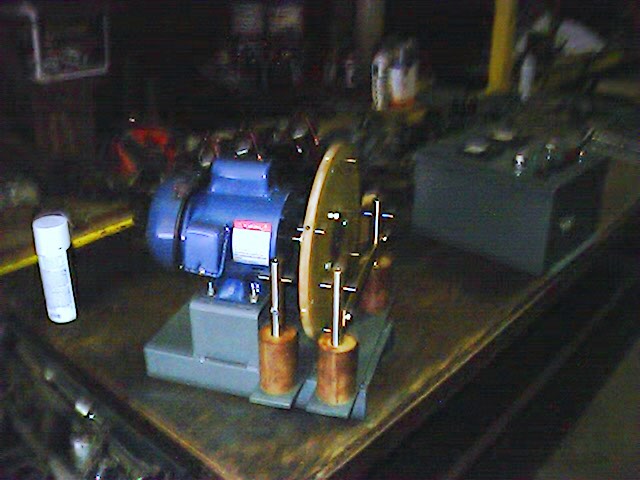
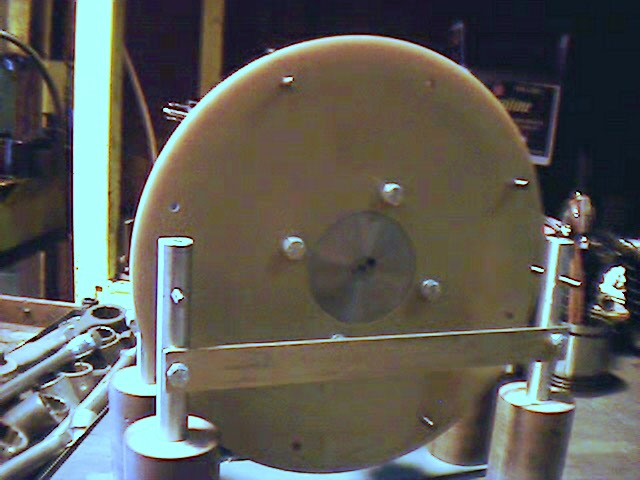
The G10 for the rotary spark gap is rough cut and mounted onto the lathe and then turned to perfect round. The hub for this G10 disc was machined from 4140 Heat Treat cold rolled steel. The four electrode holders are 1" diameter brass rod mounted into 3" diameter Micarta.
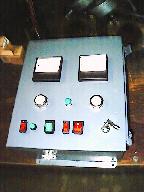
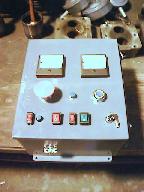
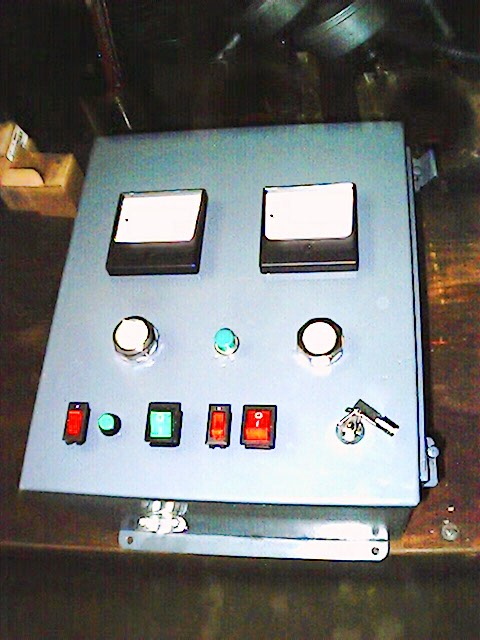
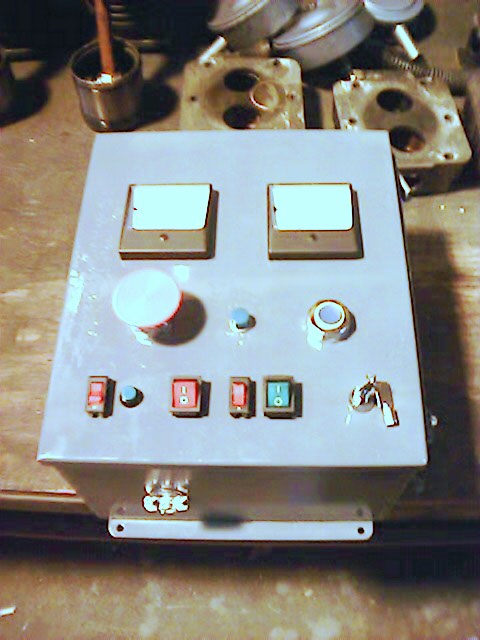
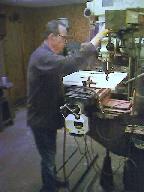
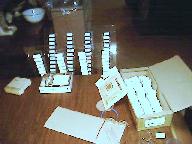
The control box begins to take shape.
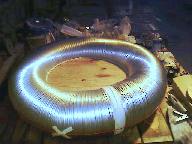
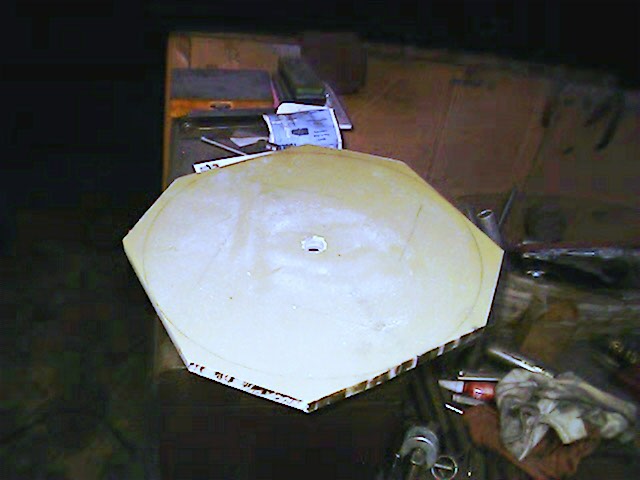
Construction of the toroid starts by bending 12" diameter aluminium duct around a plywood center disk.
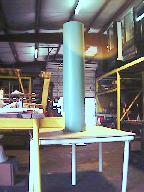
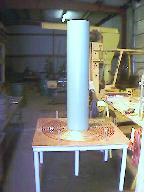
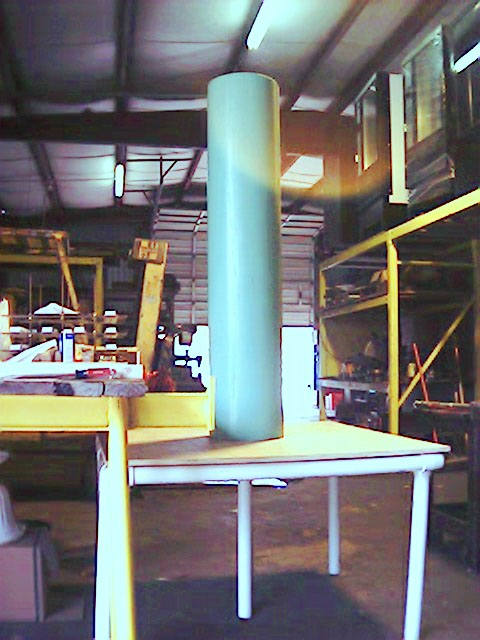
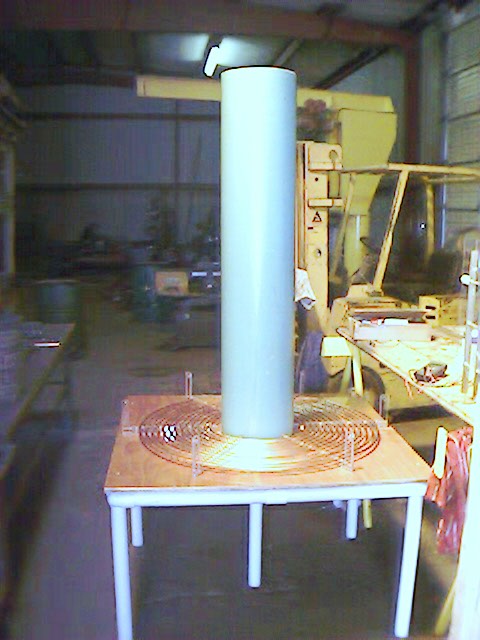
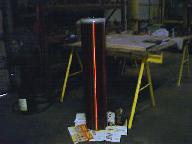
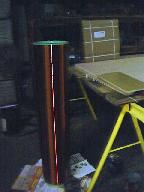
For an idea of size I put a similiar sized piece of pipe on the test fitted table today (12/5). I wanted to get an idea of height before cutting the legs to their final length. After winding the primary today (12/9) I had to repeat the process.
BACK